Thursday

Help me pick a wall colour!


So, I have had this accent wall colour in my room for a while now. The original paint colour has lost its lustre and it's time for a new coat of paint. The lazy person in me thinks I should just paint it the same colour and just one coat of paint should do the trick, right? *winks*

The creative person in me says that it's time for a change...maybe go a little softer?


Now since blue is my fave colour,  I find myself naturally navigating to the blue colour family. I'm leaning towards Wildflower Wind and Elise.


But since I'm opting for a change, why not change colour families? Pink is such a soft and sweet colour ...and will be such a nice complexion enhancer right? *high fives Julie*...:)


Here's a look at said wall with my creative space in the mix.


The rest of the room is white - the ceilings and built-in cabinets. The two lamps by each of the bedside are clear polycarbonate and I have a chandelier above the bed. The furniture pieces are natural wood.

So let me hear your thoughts....which blue or pink would you choose? Help me pick a wall colour!

Share/Bookmark

Pin It

Wednesday

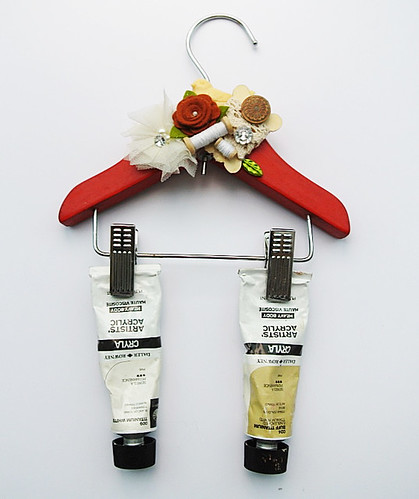
Decorated hanger for my paint tubes


Deocrated-hanger-for-my-paint-tubes

So the other day my sister returned me this painted hanger that I gave her years ago to "hold" her actual gift. It was one of those small Daiso wooden hangers that I painted red because it is my sister's fave colour. 

Yep...my sister has the tendency to return me stuff I give her years later...which is why these days I prefer to give her consumables (food and toiletries). *LOL*


Anyway, the paintwork has held up well so I just went in with my trusty hot glue gun and some Maya Road embellishments to make the hanger a little prettier. And now this decorated hanger holds my paint tubes and hangs nicely on my Raskog cart. :)

P/s: In case you were wondering, my sister is a minimalist while I'm a maximalist trying to be a minimalist. You know the struggle is real, right? *winks*


Share/Bookmark

Pin It

Tuesday

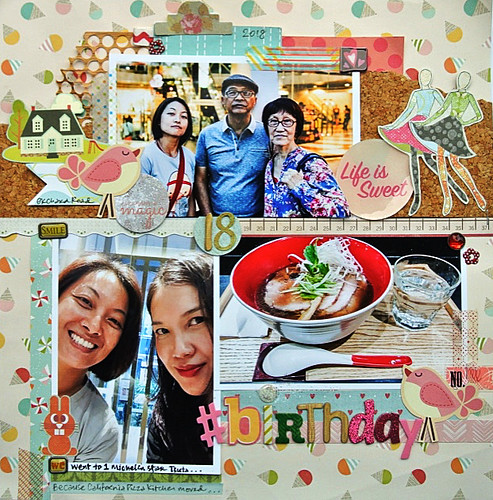
Birthday celebration 2018


Birthday-celebration-2018

So my birthday was back in March and I finally got the day documented...*winks*


It was on a Sunday so I spent most of it at home, then went to town for dinner with my folks and sister. :) 


We wanted to have pizza for dinner but when we got there, the restaurant had moved to another location...so we headed to the 1 Michelin Star Tsuta for ramen instead. 


It was the most underwhelming ramen ever.  Really. :(


But then we finished with Haagen Dazs ice-cream for dessert so all was good! :)
Playing along with The Studio Challenges' Tic Tac Toe Challenge. I went with Animal, Blue and Brads.

P/s: Hope you are having a great week so far friends! I was travelling all last week and will play catchup this week...:)


Share/Bookmark

Pin It

Thursday

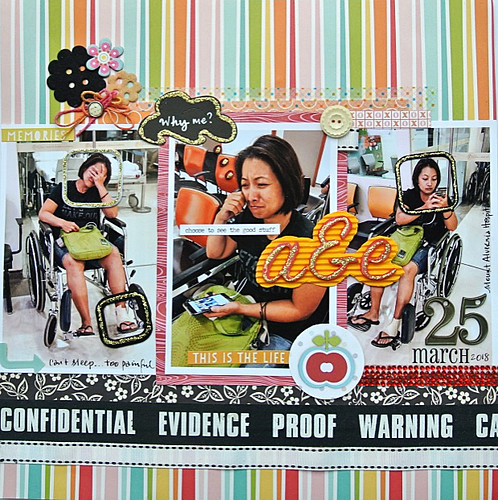
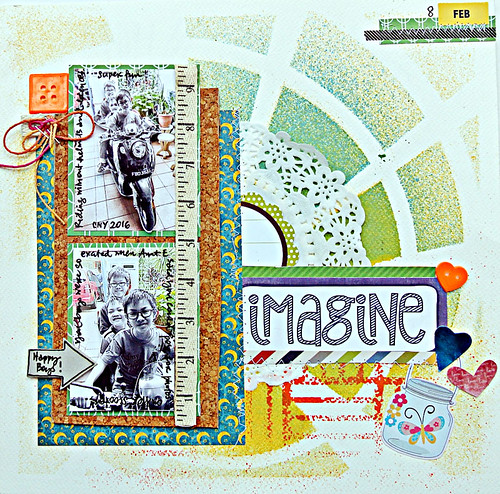
The one about the A & E visit


The-one-about-the-A&E-visit  

Back in March, my sister got overzealous with her athletic activities and suffered severe pain in her left leg which warranted an A & E visit in the wee hours of the morning. 


I dropped her off at the entrance of the hospital and went to park the car. When I got in, she was sitting in a wheelchair, waiting to see the doctor....


Photo #2 was when I asked for a sad face photo. Don't you just love re-enactment photos? *winks*


Photo #3 was when she had seen the doctor, ascertained that she wasn't dying and was uploading her A&E visit on InstaStories. *LOL*


She's totally fine now. In fact, none of us even remember her diagnosis...hahaha..


Just a fun layout using the bits from my scrap pile. ;)

Share/Bookmark

Pin It

Tuesday

7 ways to use tags on your projects.


Have you noticed that I really love using tags on my projects? I had one of those phases when I loved buying patterned paper with tag designs on them...Echo Park Paper and Crate Paper were my faves. Well, the buying has stopped but the using up part hasn't. *winks* Here are 7 ways to use tags on your projects.


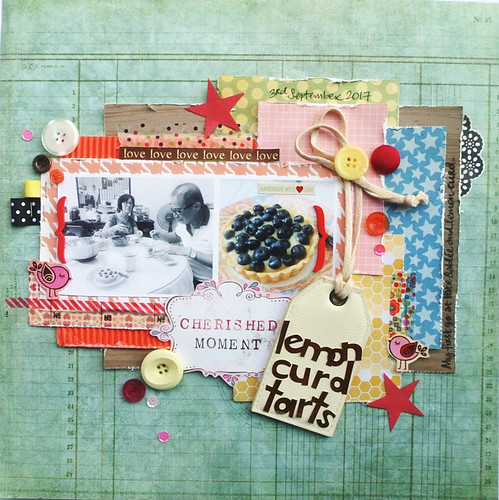
The-one-about-the-lemon-curd-tarts
The one about the lemon curd tarts

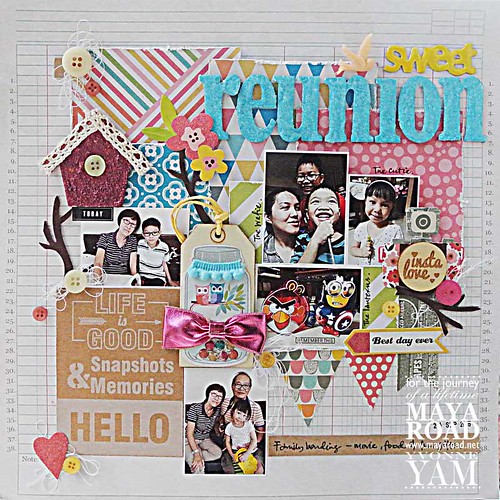
1. For your title work.

Hang a dimensional tag with your title work next to your photo for an eye-catching focal point.


Layout-by-Yvonne-Yam-for-Maya-Road-Ruby-Rock-It-Swap
A cute layout for Maya Road/Ruby Rock-It Swap

2. As a design element.

There was already a lot going on on this layout so I "broke" up the grid design with a embellished tag.

Travel-journal-pages-Jan-2017-1
Travel journal pages January 2017

3. As a mat for small photos.

The tags are perfect mats for the small photos in my travel journal.


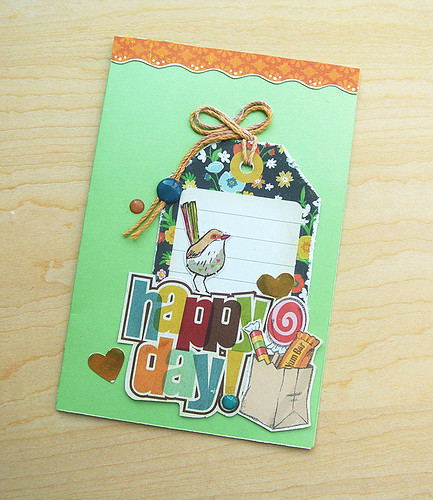
A-card-to-go-with-a-happy-treat
A card to go with a sweet treat

4. As a base to pile on your embellishments.

One of my fave ways use a tag on a card.

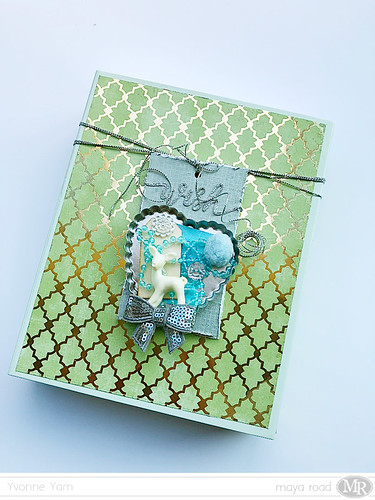
Tag-on-a-gift-box-by-Yvonne-Yam-for-Maya-Road
Tag on a gift box

5. As a gift box topper.


A decorated tag makes a great gift box topper.

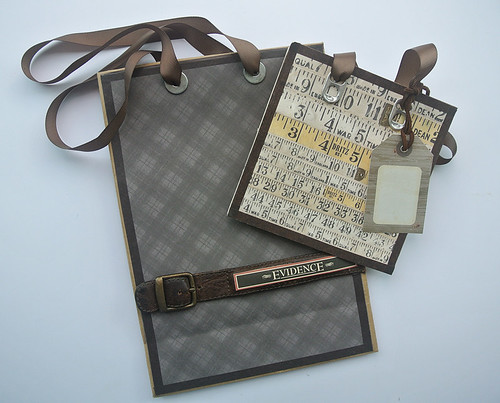
Quick-paper-bags-with-found-objects
Quick paper bags with found objects
6. For a sweet note on a decorated paper bag.

Sometimes we just have to use it the way a tag is supposed to be used...for a sweet note to go along with a gift.

Someone-finally-got-a-pair-of-Oakley
Someone finally has a pair of Oakleys

7. For your journaling.

It's really easy to tuck a tag in behind a photo for a bit of journaling on your layout.

There you have it...7 ways to use tags on your projects. Do you like using tags on your projects? What's your fave way to use tags?


Share/Bookmark

Pin It

Thursday

This week's eye sketch


This-week's-eye-sketch

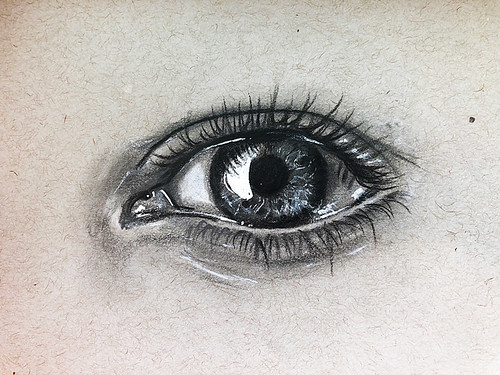
Hello friends! This week I went back to basics and played with my graphites for this eye sketch. I did "cheat" a little by using a black Faber Castell Polychromo coloured pencil for the darkest value (huge time-saver!). 


Here are the supplies I used for this eye sketch (minus the tissue paper I used for blending..*winks*).

I started by lightly sketching the eye with a HB pencil, then I went in with the black coloured pencil to lay down all my dark values. After that I did tonal shading with the 4B and 6B graphite pencils, blending with a tissue paper and the fine-point eraser. I finished by adding in the white highlights with a variety of supplies (different degrees of "whiteness").

P/s: Everybody can draw! Just pick up a pencil and give it a go!


Share/Bookmark

Pin It

Tuesday

10 ways to "frame" photos on your projects


As memory-keepers, we scrapbook to preserve little snippets of life past. And photos are integral to jogging our memories of those fleeting precious moments. Here are some fun ways to highlight the photos on your projects.


Ever notice how everything just looks better in a frame? When something is framed, the borders around the object help guide the eye to see what's within that frame. It's a great way to highlight the parts of a photo you want to bring into focus.


Fun-at-the-playground


2. Double frame them.

If one frame isn't enough, try a double frame for a deeper impact! 


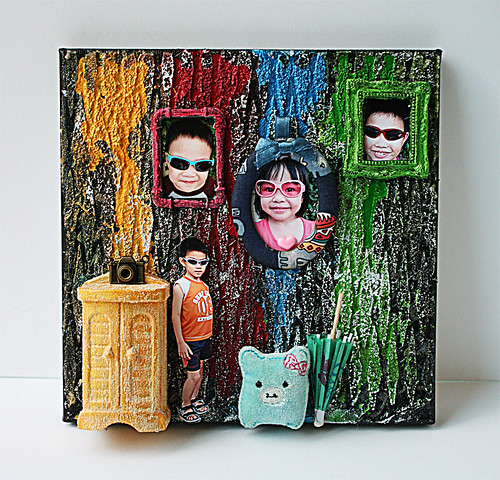
Room-scene-mixed-media-canvas
My dark side on canvas


3. Put them in "frames on a wall".

This is a fun way to create a "scene" with your photos.


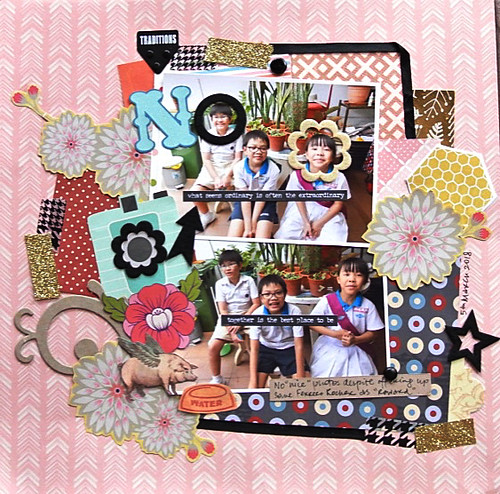
Will-I-ever-get-a-nic-photo-
Will I ever get a nice photo?


4. Frame the faces within a photo to create your titlework.

This is a great technique for showcasing the facial expressions of individuals in the photo and a fun way to create your titlework.


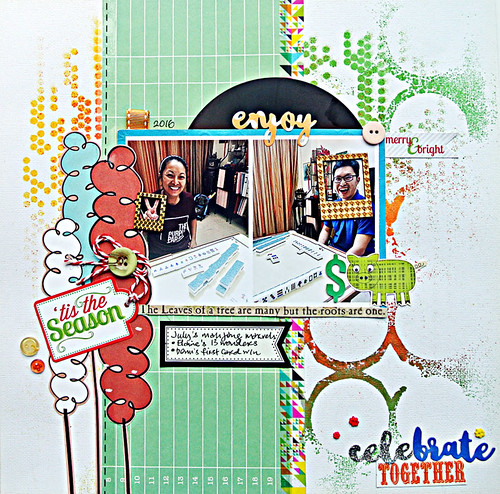
Celebrating-July-mahjong-marvels
Celebrating July's mahjong marvels

5. Vary the size of your frames to create visual interest.

You can play with the size of your frames to highlight different aspects of your photos for visual interest and aid in your story-telling.

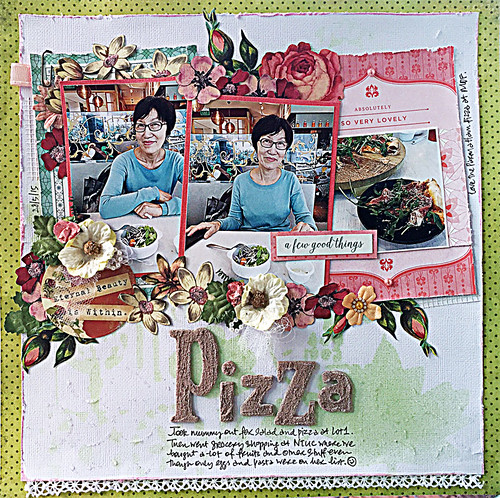
Pizza-layout-by-Yvonne-Yam-for-Made-With-Love
For the love of pizza

6.  Mat them.

Add a punch of colour with your photo mat to make your photos pop.


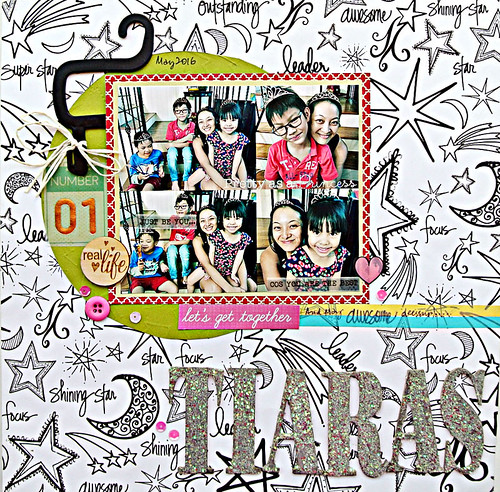
It-was-a-tiara-wearing-kind-of-a-day
It was a tiara-wearing kind of day

7. Double-mat them.

Double-matting creates more depth and visually "pushes" your photo out towards the viewer. This is a useful technique to employ if you have a busy background.


Spending-a-day-with-my-mummy
Spending a day with my mum

8. Create a thin border with a white pen.

The eye is instantly drawn to white so using a white pen to create a border around your photos is a fabulous way to draw the viewers in.


Guess-who-got-to-ride-on-the-scooter
Guess who got to ride the scooter?

9. Write your journaling around them.


This is a fun way to "frame" your photos and get the viewer to read your journaling!

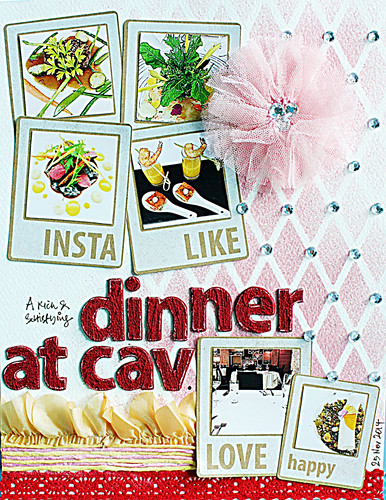
Dinner-layout-by-Yvonne-Yam-for-Maya-Road
When art imitates life

10. Make them look like polaroids.

Insta-fun way to "frame" your photos. :)


There you have it. 10 ways to "frame" photos on your projects. Which is your fave way to "frame" photos on your projects?


Share/Bookmark

Pin It

Monday

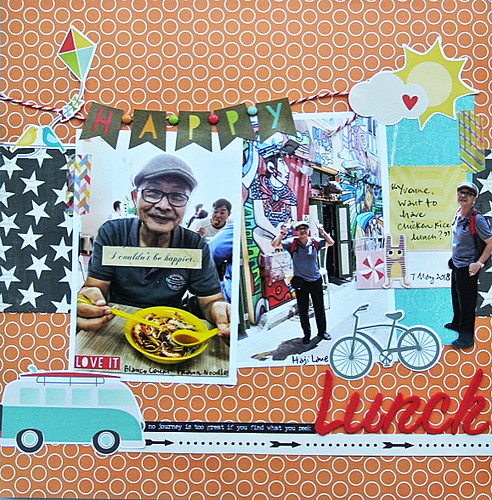
Prawn Noodles at Beach Road


Prawn-noodles-at-Haji-Lane

So the other day, my dad came to town and asked me out for lunch. We took a long walk (okay, it wasn't that far (15 mins) but noon in Singapore at 34 degrees celsius (93F) in 4 inch heels is no joke. (Note to self: stick to nearby places next time. *winks*)


Now my dad really loves eating "famous" local cuisine at coffeeshops/hawker centres/food courts. 


Look how happy he is with his bowl of prawn noodles! (And check out the random guy in the background who is obviously enjoying it as well...*LOL*)


Happy week ahead friends! :)


Share/Bookmark

Pin It
>
Related Posts Plugin for WordPress, Blogger...

LinkWithin

Pin It